
Crochet basket or bowl tutorial

If you know me you may recall the all encompassing "ditty bag" marathon, that

took me by storm.

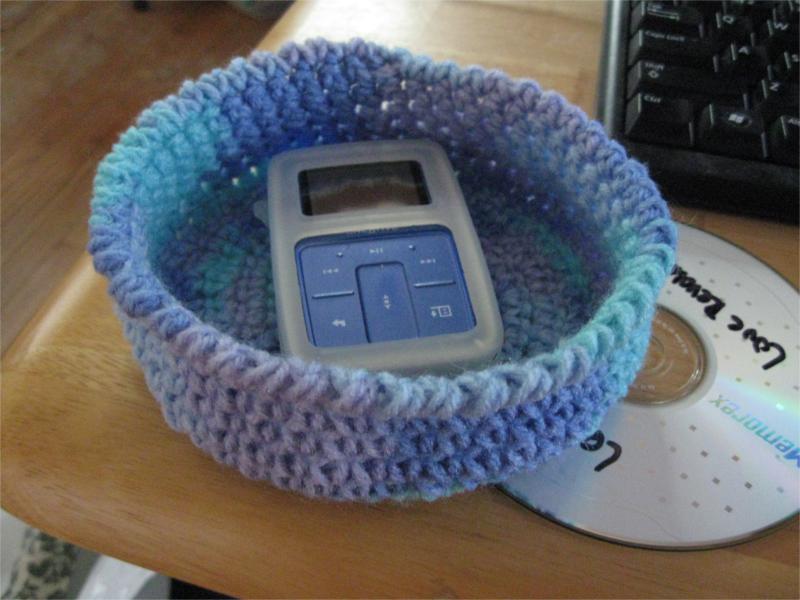
Now, in turn I am becoming obsessed with crochet bowls or baskets.

This one is about the size of a CD, and fits in my hand.

These are easy to make and fun to fill.

All you need is:

A small amount of yarn (depending on the size of the bowl you want to make)

Able to crochet, only single crochet, chain, and reverse single crochet is needed.

Crochet hook, I like to use about a size I or J for worsted wt yarn, use smaller if you wish your bowl to be more firm. Any size yarn can be used, read the label and it will give a suggestion as to the size of hook you need.

If you want to make your bowl super strong, some white glue, (like elmers) and water. Or firm but not super stiff, spray starch, These previous two will wash out if you don't like them. For a permanent result use  commercial fabric stiffener, found in most fabric stores.

Base:

If you are a beginner or need a refresher this site has videos

Rnd 1: Chain 3 stitches

Rnd 2: Chain 7 sc in the 2nd chain from the hook, no need to join, it is easier to keep going in a circle, but you may want to put a safety pin here to mark the beginning of your round.

Rnd 3: (*Sc, 2 Sc in same stitch*), repeat this until you get to your safety pin.

Rnd 4: Same as Rnd 3

Rnd 5: (*Sc, sc, 2 sc in same stitich*), repeat this until you get to your safety pin.

Following Rnds: Continue Rnd 5 (you should be making a flat round) until it is about 1/2 inch less that the size you would like your bowl to be.

Sides:

Rnd 1 and all following sc in each sc, (it will take a couple of rows until your bowl starts to form upwards)

Continue until your bowl is tall enough.

The last row I finish off with several slip stitches, then...

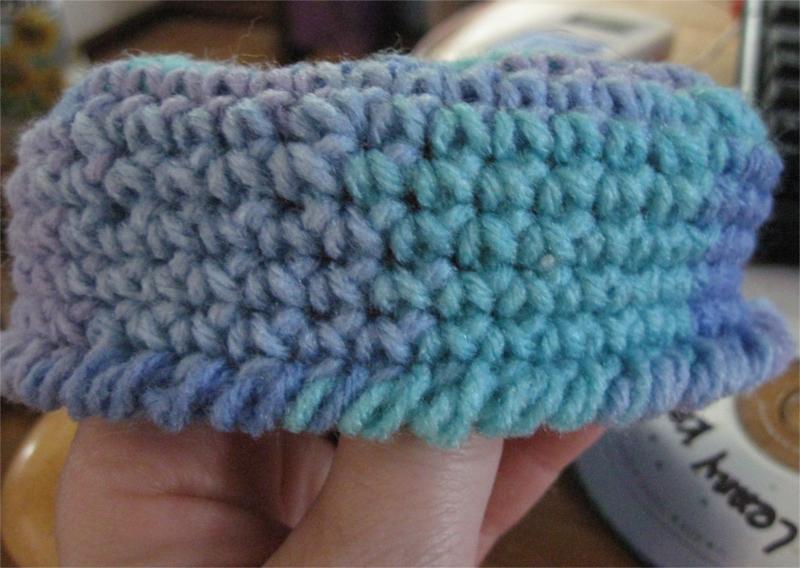
To make the lip use the Crab Stitch (or reverse single crochet) see here, for example. Or if you are a visual learner, try searching You Tube.

If you wish your bowl to be  stiff or firm, you can set it on newspaper and spray the heck out of it with spray starch, it dries nicely if you are able to sit it in the sun.

If you want your bowl to be super stiff or firm: White glue and water. Just mix the glue with equal parts water and apply it. For a more pliable finish, you may want to add a little more water. Let dry thoroughly, if your bowl cannot stay like you want it, lay it over a bowl, cup or something similar in size.

Of all the stiffening methods, commercial fabric stiffener provides the most durable finish for your projects. Keep in mind, though, that it is permanent. You should be able to find this product at your local craft store and follow the package directions for mixing.

Have fun!

Don't forget you can make these into nesting bowls, organizational bowls, or let your imagination take over.

Technorati Tags:

Comments

  1. Anonymous9/06/2008

    Great bowl.
    I love the one my MIL made me a few years ago. It's a bit larger and, of course, I store yarn in it.

    ReplyDelete
  2. Anonymous9/09/2008

    Gosh Vicki, these are really cute. I think I may make a couple. There is no end to uses for them is there?

    ReplyDelete
  3. Thanks you for the crab stitch idea. It gives the bowl a very finished look.

    ReplyDelete

Post a Comment

Thank you for leaving a comment I love reading them and really appreciate you taking the time to let me know you were here!

Popular posts from this blog

Review of a Kick Spindles Or Mother Marion to spin

When I made the decision to buy a Kick spindle I could find very little info on it, anywhere. Below is what I gathered, bought and my experience with mine. I could only find two being marketed, since I purchased mine I have found a third. Below is my views on the Kick spindle I purchased (Little Meggie from Heavenly Handspinning), and some info on all of the other Kick Spindles that I could locate. Links and costs are included. Review: Things I like about my Kick Spindle. 1. Long spin time, I like the addition of the ball bearing. 2. Leaves both hands free to draft 3. It's my "wheel" 4. I like using my foot, I am moving around and don't get stiff from one position. It's a very "active" type, rhythmic motion. 5. You can actually stand and use it also. 6. Great price point. 7. I have never spun on a wheel and when I sat down at one the first time, I could actually spin (some) I think this action of foot/hand coordination helped. 8.

Aran Shrug, Bridesmaid Wrap, Baby Bunting Pattern free

Here is the start of my "Bridesmaid wrap" from " Wedding Knits " by Suss Cousins. I am making it out of heavier yarn, From Handpainted yarns I love the yarn it is so soft and the colors are beautiful. The wrap is made in mohair in the book. I plan on making it a shorter wrap, due to the heavier yarn. I hope it turns out OK . If you check out the book link, there is photo of it. If you want a free Bridesmaid wrap pattern this is a lovely one from Knitty! I made this baby bunting, on the spur of the moment, just playing around. I used one skein of red heart yarn, and a small amount of the fun fur yarn in a coordinating color. Cast on 80 stitches at 4 sts /inch. Knit in the round, until 24 inches long. If you would rather knit flat, knit even rows, purl odd rows. Add Fun fur yarn, or other novelty yarn for the last 10 rows. Bind off, using a very loose bind off. I like to use the Elizabeth Zimmerman method of the Sewn Bind off

Crochet A Plant Hanger (easy)

It is getting frosty here and the leaves are turning beautiful colors. I had a mass die off of plants, (well, due to my neglect), I did revive a few by repotting.  I brought in some plants from the deck, which Mother Nature took better care of. I decided to hang the larger plants, to save space and didn’t have any plant hangers. I prefer to put my plants in plain clay pots, and had already made my StuffMart run for the week. I got online and looked around for an easy DIY plant hanger. Of course I couldn’t find what I was looking for, although I found some really cute ones that I will link at the end. I was going to macramé one, but when I found some crochet patterns, I thought that would be faster and just as pretty. I looked around and did find a unopened ball of jute, opened it up and got my crochet needle out and started playing around. I’ll place links in the directions in case you don’t know how to crochet, this is super easy. Crochet Plant Hanger (easy) You can customize t